Ansible Networking
Ansible is an open source community project by RedHat and is one of the simplest ways to automate your IT. Ansible can be used across entire IT teams, ranging from systems administrators to network administrators to developers and managers. Ansible provides an enterprise-ready, task-based, agentless architecture automation solution for not only servers and software, but also networking starting in Ansible 2.1. Further, the Ansible framework makes extensive use of Python. Cisco is a major contributor and supported vendor.
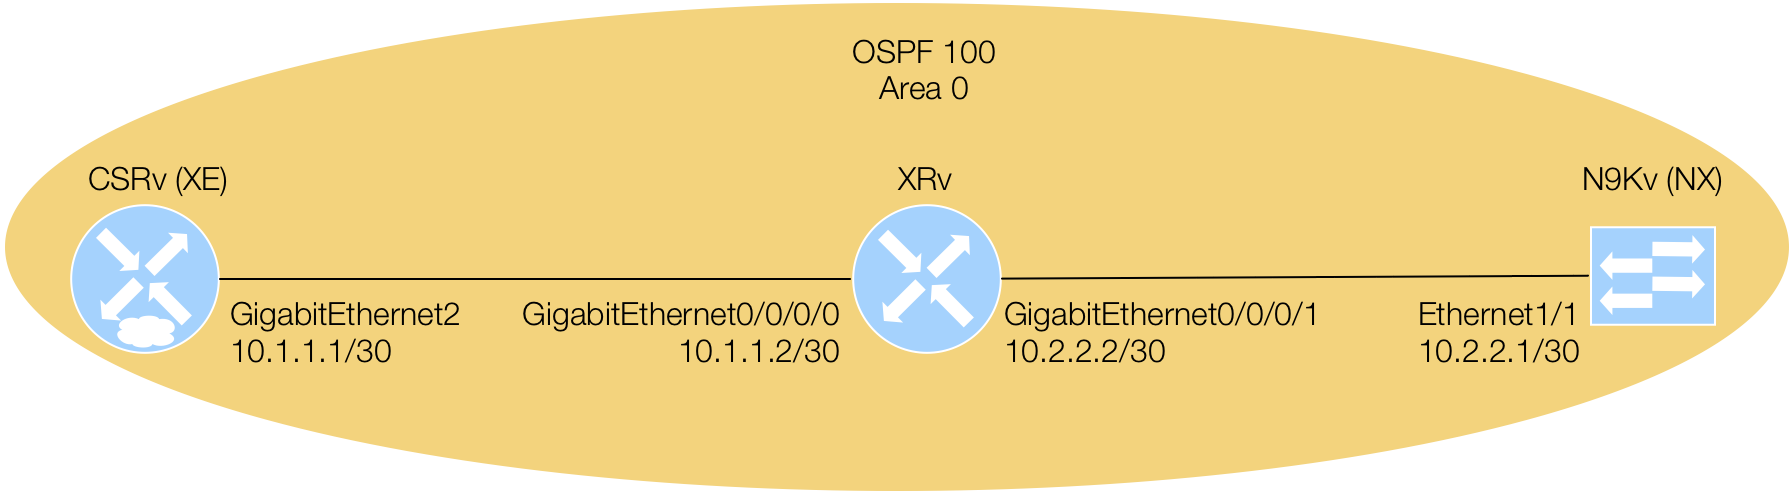
In this section of the lab, you will leverage Ansible Networking to enable the MDP features (NETCONF and RESTCONF) on IOS XE (CSR 1000v or CSRv), IOS XR (XRv), and NX-OS (N9Kv) platforms. This will require and use the network modules specific to each platform, thus is CLI automation, which is not the focus of this lab. But the concepts here are important for the next lab section using Ansible and NETCONF.
Ansible Verification
The Docker image that you pulled from the internal Docker Registry has Ansible already installed. The Dockerfile
included in the Additional References section shows you exactly packages were installed.
Ansible can be installed via the native operating system's installer (example: RedHat/CentOS using yum or
Ubuntu using apt-get) or using pip, the Python Package Index or Python package manager.
Ansible was installed via pip install ansible==2.5.4 when the container image was built. In your container,
verify your installed Ansible release is 2.5.4:
ansible --version
Your verification of the Ansible release, should look as follows:
            ansible 2.5.4
              config file = None
              configured module search path = ['/root/.ansible/plugins/modules', '/usr/share/ansible/plugins/modules']
              ansible python module location = /usr/lib/python3.6/site-packages/ansible
              executable location = /usr/bin/ansible
              python version = 3.6.5 (default, Apr 10 2018, 17:08:37) [GCC 4.8.5 20150623 (Red Hat 4.8.5-16)]
Clone Skeleton Ansible Playbooks from Git Repo
After verifying Ansible is installed, you now need a playbook. Ansible calls it's configuration and orchestration framework "playbooks." Playbooks are a collections of "play(s)" or tasks for configuration management and deployment to a device or multiple devices in a synchronous or asynchronous fashion. While playbooks can be represented as a single file, Ansible best practices recommend a particular directory structure; this is how you will be building your playbook. This directory structure lets you organize files into smaller configuration files for better reuse, particularly by using "roles." Roles in Ansible are a way to automatically load certain variables, tasks, etc depending on a categorization. A role can be defined for example by device type or protocol. In this lab, you are working with three distinct devices or platforms; XE, XR, and NX. When you get to defining your configuration tasks and variables, distinctly differentiating between device types into separate roles can allow for devices to be configured the same.
You will actually need Ansible playbooks in two locations of this lab, this one for CLI automation to enable features, and the second when you get to Ansible and NETCONF. For the sake of you not having to build two playbook's directory structures, there is a pre-constructed playbook for this section of the lab that you must finish building out.
From within your Docker container, issue the command below to Git clone this incomplete Ansible playbook into your container environment.
git clone http://root@CiscoLive-GitLab.opennxos-ciscolive.com/CiscoLive/playbooks.git
Review Ansible Playbook Directory Structure
A useful command to view the directory structure of this playbook you Git pulled is called tree.
If you issue tree /workspace/enable_mdp on your workspace directory, You will see the directory structure of
an Ansible playbook following best practices. You will mainly be working with the tasks directory wihin each of
the three roles that are defined - a role per platform type.
Issue the command below within your container:
tree /workspace/playbooks/enable_mdp
            [root@25ef0c91db80 workspace]# tree /workspace/playbooks/enable_mdp/
            /workspace/ playbooks/enable_mdp/
            |-- ansible.cfg
            `-- roles
                |-- enable-nx-mdp
                |   |-- README.md
                |   |-- defaults
                |   |   `-- main.yml
                |   |-- files
                |   |   `-- main.yml
                |   |-- handlers
                |   |   `-- main.yml
                |   |-- meta
                |   |   `-- main.yml
                |   |-- tasks
                |   |   `-- main.yml
                |   |-- tests
                |   |   |-- inventory
                |   |   `-- test.yml
                |   `-- vars
                |       `-- main.yml
                |-- enable-xe-mdp
                |   |-- README.md
                |   |-- defaults
                |   |   `-- main.yml
                |   |-- files
                |   |   `-- main.yml
                |   |-- handlers
                |   |   `-- main.yml
                |   |-- meta
                |   |   `-- main.yml
                |   |-- tasks
                |   |   `-- main.yml
                |   |-- tests
                |   |   |-- inventory
                |   |   `-- test.yml
                |   `-- vars
                |       `-- main.yml
                `-- enable-xr-mdp
                    |-- README.md
                    |-- defaults
                    |   `-- main.yml
                    |-- files
                    |   `-- main.yml
                    |-- handlers
                    |   `-- main.yml
                    |-- meta
                    |   `-- main.yml
                    |-- tasks
                    |   `-- main.yml
                    |-- tests
                    |   |-- inventory
                    |   `-- test.yml
                    `-- vars
                        `-- main.yml

            25 directories, 28 files
Create Role Based Tasks
The tasks for the enable-xe-mdp role will be created first using the task below. This task uses
the ios_config IOS module for sending CLI configuration lines. To enable MDP on an IOS XE device,
the CLI commands required are netconf-yang, restconf, and
ip http secure-server (https) for RESTCONF.
            cat <<EOF >> /workspace/playbooks/enable_mdp/roles/enable-xe-mdp/tasks/main.yml

            - name: ENABLE MDP FEATURES
              ios_config:
                lines:
                  - netconf-yang
                  - restconf
                  - ip http secure-server

            EOF
The tasks for the enable-xr-mdp role will be created second using the task below. This task
actually uses an IOSXR module specifically created to enable NETCONF on an XR device. Notice that the module can
take parameters, one of which, puts the NETCONF process in the management VRF that the Mgmt interface is
operating in.
            cat <<EOF >> /workspace/playbooks/enable_mdp/roles/enable-xr-mdp/tasks/main.yml

            - name: ENABLE NETCONF FEATURE
              iosxr_netconf:
                netconf_vrf: management
                netconf_port: 830
                state: present

            EOF
The tasks for the enable-nx-mdp role will be created third using the task below. This task, like
the XR task used above, leverages a module specifically created to enable features on an NX device. In the task
you need to use below, there are some parameters in {{ }} . This
signifies using a variable. The features variable will defined next as a list in YAML and is
itereated over using the module and the loop keyword.
The item variable is a reserved variable in Ansible and indicates an item out of the
features list.
            cat <<EOF >> /workspace/playbooks/enable_mdp/roles/enable-nx-mdp/tasks/main.yml

            - name: ENABLE MDP FEATURES
              nxos_feature:
                feature: '{{ item }}'
                state: enabled
              loop: '{{ features }}'

            EOF
The features list variable needs defining for the above task. You can define variables in a number
of places, thus precedence matters for variables. This is outside the scope of this lab, but this information
can be found in Ansible's Docs on Variables.
For this task, you are simply going to put the features list variable that includes two features in the list,
netconf and restconf. This will be defined in the role specific vars directory.
            cat <<EOF >> /workspace/playbooks/enable_mdp/roles/enable-nx-mdp/vars/main.yml

            features:
              - netconf
              - restconf

            EOF
Create Host & Connection File
Create the host file below that contains the information Ansible will use to connect to your devices.
You'll notice the host file below makes use of device groups; [xe], [xr],
and [nx], that is used to group the different platforms.
ansible_user and ansible_ssh_pass is used to provide the username and password. The
password is stored in clear text for this lab, but
Ansible Vault can be used to encrypt
passwords or there is another keyword for providing an SSH key directly. ansible_connection is set
to use Ansible's new network_cli plugin that uses platform-specific connectors that are set by
ansible_network_os specifying the platform.
            cat <<EOF >> /workspace/playbooks/enable_mdp/hosts
            # hosts file for Ansible playbook enable_mdp

            [all:vars]
            ansible_user=admin
            ansible_ssh_pass=cisco.123
            ansible_connection=network_cli

            [xe]
            10.2.100.11     ansible_network_os=ios

            [xr]
            10.2.100.12     ansible_network_os=iosxr

            [nx]
            10.2.100.13     ansible_network_os=nxos

            EOF
Create Main Ansible Playbook
Copy or type the main playbook YAML file. Notice the list of each role that has been defined up to this point is to be executed as part of this top-level playbook. Notice that each role has a particular host group that the task in that role will run against.
            cat <<EOF >> /workspace/playbooks/enable_mdp/site.yml
            ---
            # main playbook

            - hosts: xe
              roles:
                - role: enable-xe-mdp

            - hosts: xr
              roles:
                - role: enable-xr-mdp

            - hosts: nx
              roles:
                - role: enable-nx-mdp

            EOF
Execute Ansible Playbook
To execute an Ansible playbook you simply just use ansible-playbook. You are going to use your
own host file, so you must specify -i hosts, where -i is for inventory and
hosts is the inventory file name. Lastly, you must specify the playbook file,
site.yml.
cd /workspace/playbooks/enable_mdp/
ansible-playbook -i hosts site.yml
Your playbook execution results should look like the below:
            PLAY RECAP **********************************************************************
            10.2.101.11                : ok=2    changed=1    unreachable=0    failed=0
            10.2.101.12                : ok=2    changed=1    unreachable=0    failed=0
            10.2.101.13                : ok=2    changed=1    unreachable=0    failed=0
Alternatively, you can add -vvv for verbose debugging output for each task that is executed.
Upon successful execution of this playbook, the model driven programmability features, NETCONF and RESTCONF, should be enabled on each of the platforms.
*Note: XR does not currently support RESTCONF.